 English ▾


# How to Use Masking in CapCut: Create Smooth and Creative Video Effects
Masking is a useful video editing technique that allows you to control which parts of a video layer remain visible. With this feature, you can create creative transitions, split-screen effects, and interesting overlays without needing complicated editing software.
If you want to make your videos look more professional, learning how to use masks in CapCut can help you achieve different visual styles.
In this guide, you will learn what masking is, how to use it, and how to improve your results.
What Is Masking in CapCut?
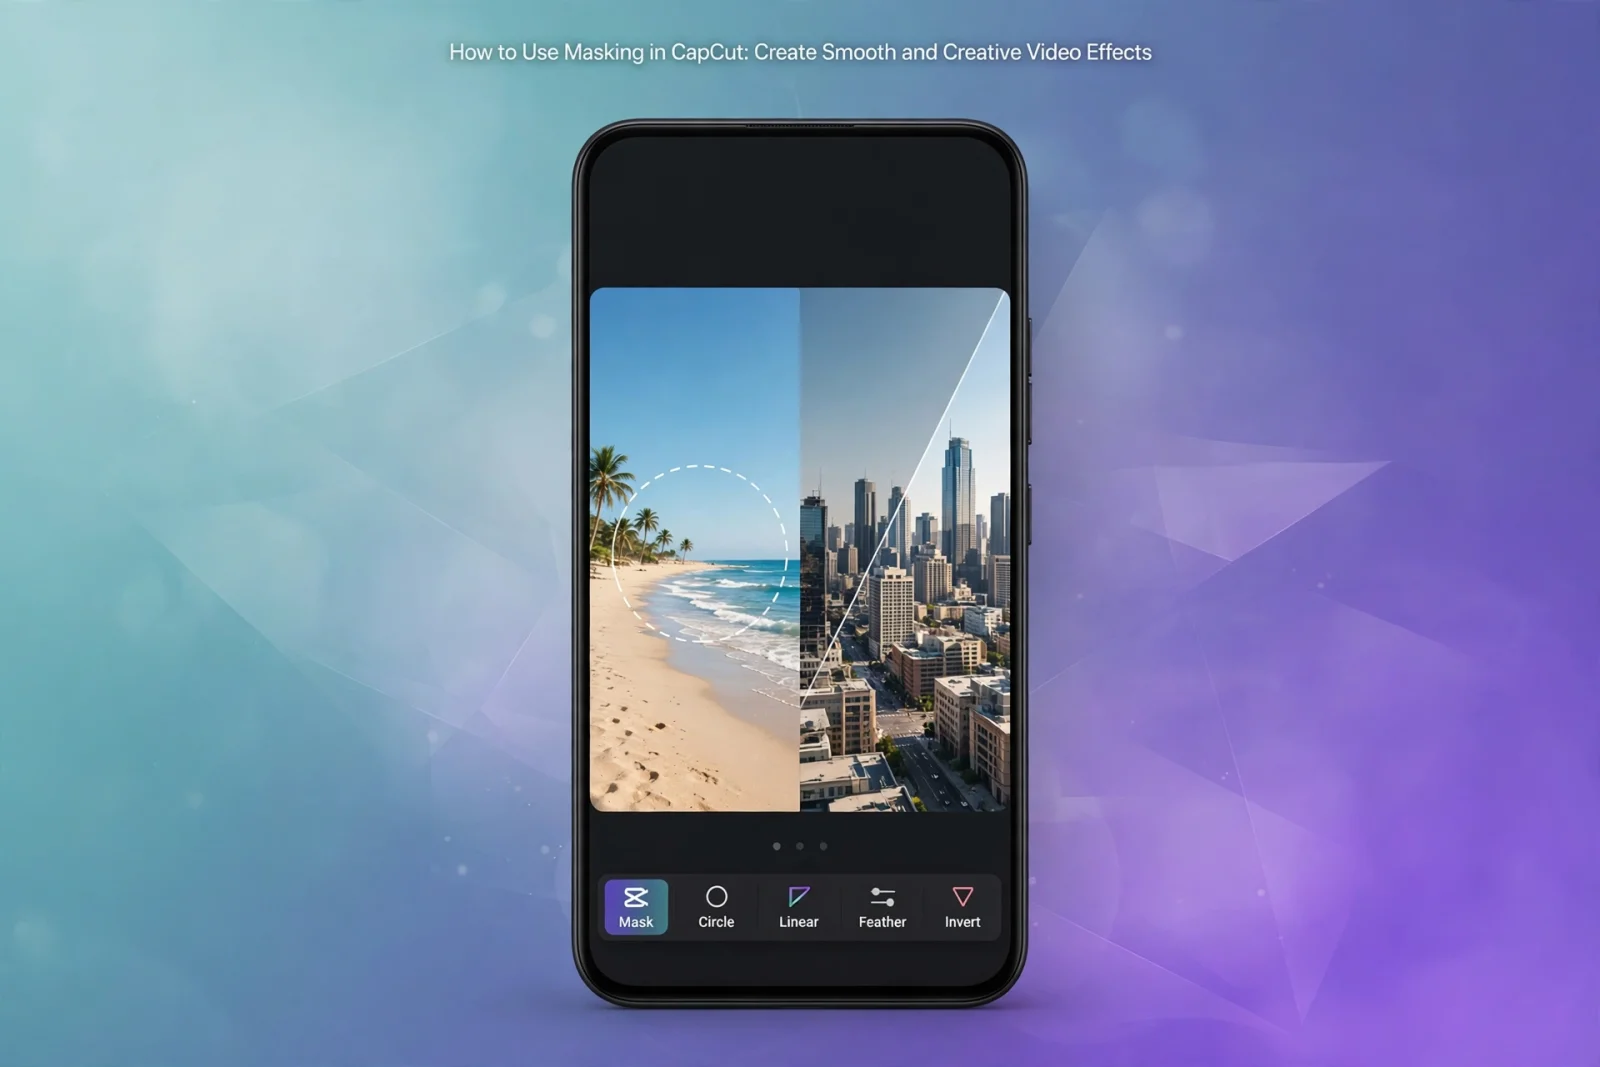
Masking allows you to hide or reveal specific areas of a video or image layer. Instead of showing the entire clip, you can choose a particular shape or area that should remain visible.
For example, you can use masking to show two different scenes in one frame, reveal another clip gradually, or create a creative transition between two videos.
Depending on your CapCut version and device, available mask shapes and controls may vary.
How to Use Masking in CapCut
Follow these simple steps to start using the masking feature.
Step 1: Create a New Project
Open CapCut and select New Project. Choose the main video from your gallery and add it to the editing timeline.
Make sure you have selected the correct clip before moving to the next step.
Step 2: Add an Overlay Video
Tap Overlay and add another video or image on top of your main footage.
You can resize and reposition the overlay to match your editing idea. This second layer is where you will apply the mask.
Step 3: Find the Mask Tool
Select the overlay clip and look for the Mask option in the editing toolbar.
Depending on your app version, you may see different shapes, such as:
- Circle
- Rectangle
- Split
- Horizontal
- Mirror
Choose a shape that matches the effect you want to create.
Step 4: Adjust the Mask
After selecting a mask, adjust its position, size, and rotation.
You can also use the Feather control, if available, to soften the edges. A softer edge helps blend two video layers more naturally.
Take your time with this step because small adjustments can make a noticeable difference.
Step 5: Preview Your Video
Play your video from the beginning and check how both layers appear together.
If the mask covers an important part of the footage, move or resize it until the composition looks balanced.
You can also experiment with different mask shapes to discover new editing styles.
Creative Ways to Use Masking
Here are a few ideas you can try in your next CapCut project.
**1. Split-Screen Videos**
Show two different clips side by side using a split mask. This works well for comparisons, reactions, and before-and-after videos.
**2. Smooth Scene Reveals**
Use a mask to gradually reveal another video layer. This can create an interesting transition between two scenes.
**3. Creative Overlays**
Combine a masked video with text, images, or background footage to create a more attractive visual composition.
**4. Before and After Effects**
Place two versions of a video together and use a mask to compare the original footage with the edited result.
Tips for Better Masking Results
- Keep mask edges aligned with the important parts of your footage.
- Use Feather carefully to avoid overly blurred edges.
- Match the lighting and colours of both video layers.
- Preview the complete video before exporting.
- Avoid adding too many effects that distract viewers.
Final Thoughts
Masking is a simple but powerful editing technique that can give your videos a more creative appearance. Whether you want to make split-screen comparisons, smooth scene reveals, or interesting overlays, CapCut provides useful tools to experiment with different styles.
Start with a simple mask and gradually try more advanced combinations as you become comfortable with the editing process.