 English ▾


# How to Create a Split Screen Video in CapCut
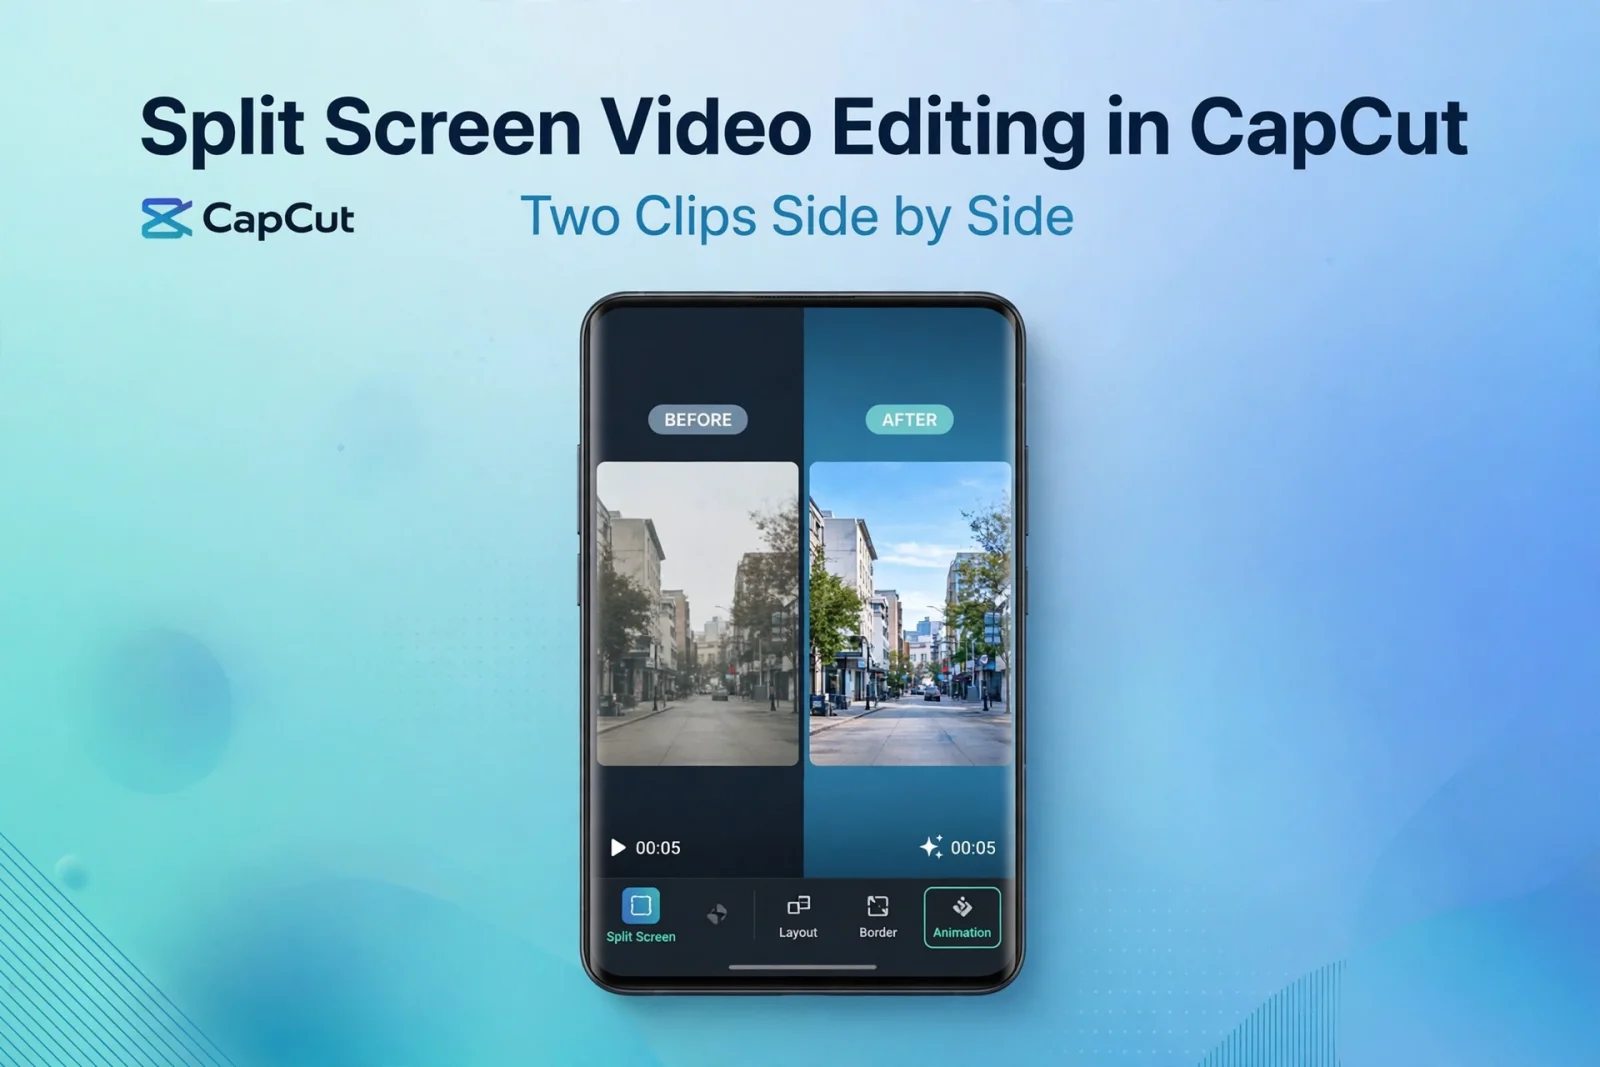
Have you ever watched a video where two different clips appear on the screen at the same time? This editing style is called a split screen. It is commonly used in comparison videos, reaction content, tutorials, travel edits, and social media posts.
CapCut makes this effect possible using its overlay and positioning tools. You do not need advanced editing experience to get started.
In this guide, you will learn how to create a split screen video in CapCut and adjust both clips to make the final result look clean.
What Is a Split Screen Video?
A split screen video displays two or more video clips within the same screen. Each clip occupies a separate section, allowing viewers to watch different scenes simultaneously.
For example, you can show a before-and-after transformation, compare two products, or display two people reacting to the same moment.
How to Create a Split Screen in CapCut
Follow these steps to make a basic two-video split screen on your phone.
Step 1: Start a New Project
Open CapCut and tap New Project. Select the first video you want to use and add it to the timeline.
Choose a clip that has enough visual space for another video to appear beside it.
Step 2: Add the Second Video as an Overlay
Select Overlay from the editing toolbar and tap Add Overlay.
Choose your second video. It will appear on a separate layer above your main clip.
You can now adjust both clips independently.
Step 3: Resize the Videos
Select the overlay clip in the preview window. Use two fingers to resize it and move it toward one side of the screen.
Keep the main video on the opposite side. Adjust both clips until they fit together without covering each other.
For a simple vertical split, each video should occupy approximately half of the screen.
Step 4: Adjust the Position
Move the clips carefully so the important subjects remain visible.
If one video looks too large or too small, resize it again. You can also use the crop option to remove unnecessary areas around the subject.
Step 5: Match the Clip Duration
Check the timeline and make sure both videos start and finish at the correct moments.
If one clip is longer, trim it to match the other. This prevents an empty section from appearing when one video ends.
Step 6: Preview Your Split Screen
Play the entire sequence and check the alignment.
Make sure both videos are visible, the timing looks correct, and there are no unwanted black spaces between the clips.
When everything looks good, export your project.
How to Make a Vertical Split Screen
A vertical split screen is useful for comparison videos and reaction content.
To create this layout, place one clip on the left and the other on the right. Resize both clips to fit the frame and adjust their positions until they meet in the middle.
For a 9:16 social media video, keep both sides balanced so viewers can easily understand what is happening.
Tips for Better Split Screen Videos
**Use similar lighting:** Clips with very different brightness can make the final video look inconsistent.
**Keep the subjects visible:** Avoid cropping faces, important objects, or text.
**Match the timing:** Start both clips at the right moment, especially when comparing two actions.
**Add simple labels:** Short text such as Before, After, or Video 1 can help viewers understand each side.
**Avoid unnecessary effects:** A clean layout often looks more professional than using too many transitions and filters.
Common Split Screen Problems
One video covers the other
Select the overlay clip and resize or reposition it. Make sure each clip stays within its own section.
Black spaces appear around the videos
Check the size and position of both clips. You may need to crop or enlarge them slightly to fill the frame.
The videos are not synchronized
Move the clips along the timeline until the important moments begin together.
The final video looks crowded
Reduce unnecessary text and effects. Keep the layout simple and focus on the two main clips.
Final Thoughts
Creating a split screen video in CapCut is a useful way to show two scenes at once. Whether you are making a comparison, reaction, tutorial, or social media edit, the overlay and positioning tools give you control over the layout.
Start with two clips, resize them carefully, match their timing, and preview the result before exporting. A balanced split screen can make even a simple video more interesting.
Frequently Asked Questions
Can I put two videos side by side in CapCut?
Yes. Add one video as the main clip and the second as an overlay. Resize and position them so both appear side by side.
Can I make a split screen for TikTok or Reels?
Yes. Choose a vertical project ratio such as 9:16 and position both clips to fit the screen.
Can I add more than two videos?
Yes. You can add additional overlay layers, depending on your device and CapCut version.
Does split screen reduce video quality?
The layout itself does not automatically reduce quality. However, enlarging a low-resolution clip may make it look blurry.
Can I add music to a split screen video?
Yes. You can add background music or sound effects just like in a normal CapCut project.