 English ▾


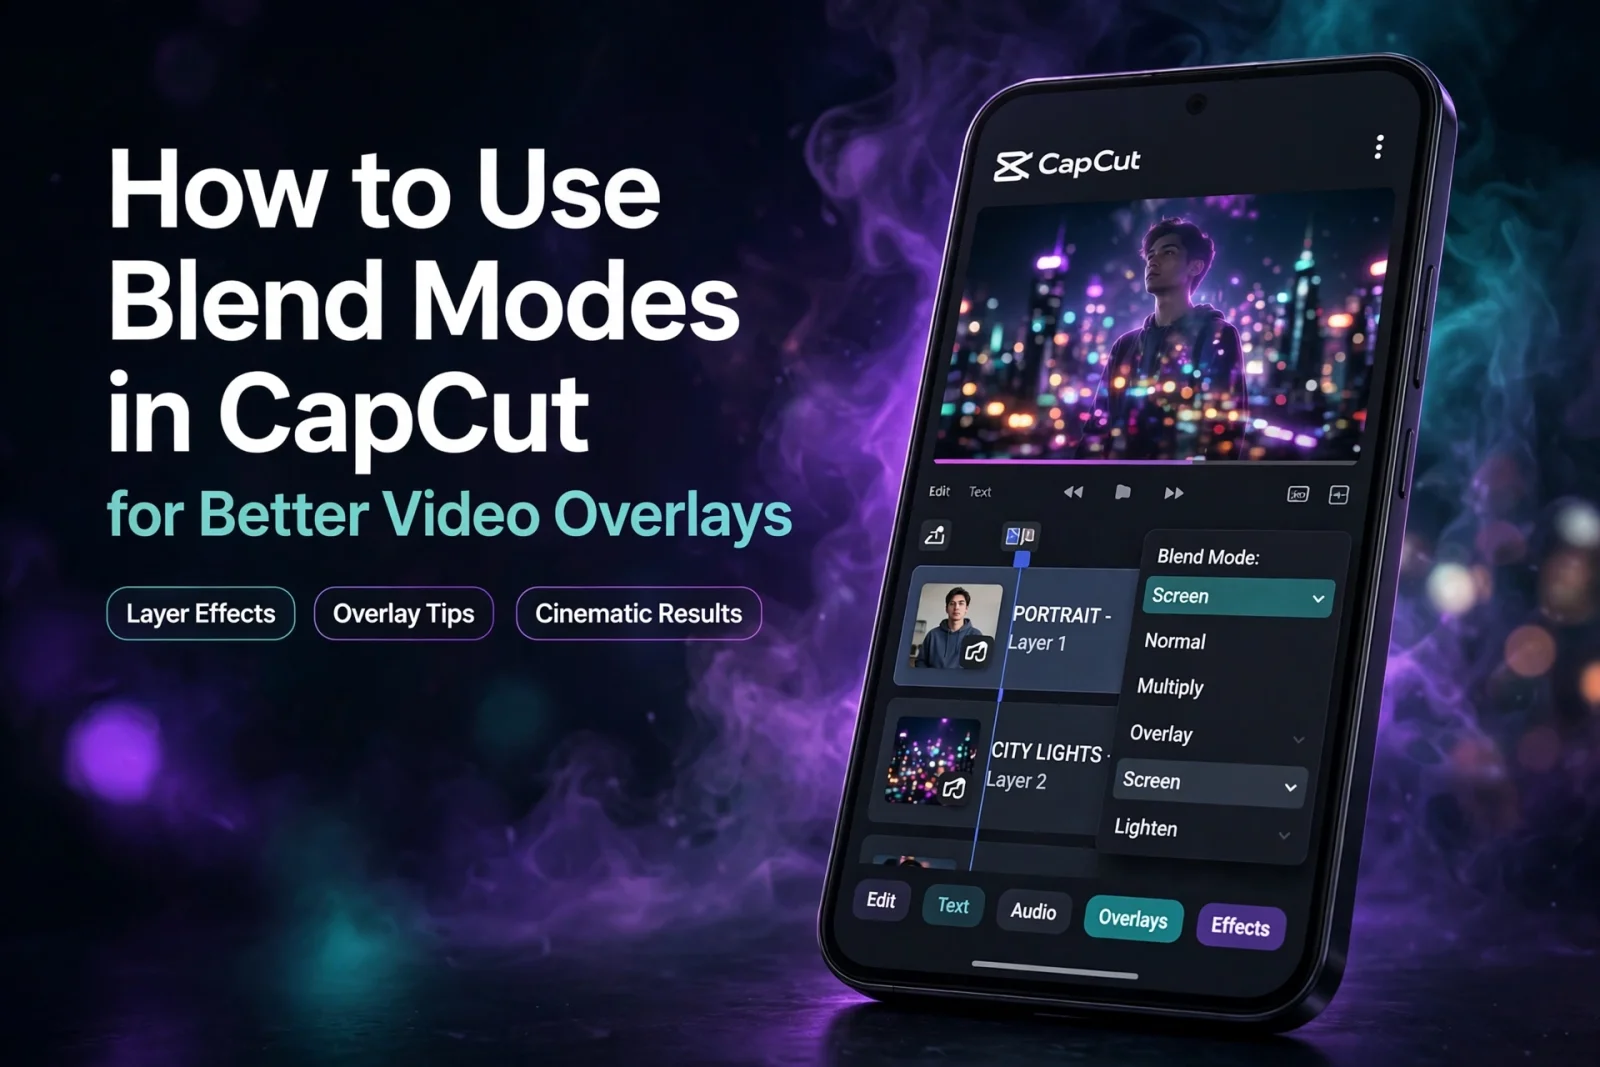
# How to Use Blend Modes in CapCut for Better Video Overlays
CapCut offers several creative editing tools that can help make ordinary videos look more professional. One useful technique is blending, which allows you to combine two visual layers and create interesting effects.
If you have ever seen a video with light leaks, film textures, glowing effects, or double-exposure visuals, blend modes may be part of the editing process.
In this guide, you will learn what blend modes are, how to use them in CapCut, and how they can improve your video overlays.
What Are Blend Modes in CapCut?
Blend modes control how one video or image layer interacts visually with the layer underneath it.
Instead of simply placing one clip over another, blending changes how their colors and brightness combine. This can help create effects such as glowing lights, dark shadows, soft textures, and creative overlays.
The exact blending options available may vary depending on your CapCut version and device.
How to Use Blend Modes in CapCut
Follow these simple steps to experiment with blending:
Step 1: Open CapCut
Launch CapCut and create a new project. Select the main video you want to edit and add it to your timeline.
Step 2: Add an Overlay
Open the Overlay option and import a second video or image. You can use a light effect, film texture, smoke video, or another visual layer.
Step 3: Select the Overlay
Tap the overlay clip in your timeline so that its editing tools appear.
Step 4: Find the Blending Option
Look through the available editing tools for the Blend or blending option. Its location and availability can differ between versions.
Step 5: Experiment With the Modes
If blending options are available, try different modes and observe how they change the appearance of your overlay.
Step 6: Adjust the Strength
Use the opacity or intensity control, when available, to make the effect look natural. A strong overlay can hide the original footage, so adjust it until both layers look balanced.
Creative Ways to Use Blend Modes
Here are a few ways you can experiment with blending in your videos:
**1. Light Leak Effects**
Add a light-leak overlay to create a warm or cinematic appearance. Adjust its strength so it does not cover important details.
**2. Film Texture**
A grain or film-texture layer can give your footage a vintage look. Blending can help the texture sit more naturally over the original video.
**3. Double Exposure Style**
Combine two clips or images to create a layered visual effect. This can work well for creative introductions and music edits.
**4. Glowing Effects**
Try light-based overlays to make certain parts of a video appear brighter or more dramatic.
Tips for Better Results
- Choose overlays that match the mood of your video.
- Avoid using too many effects in one scene.
- Keep important faces and objects visible.
- Adjust opacity to maintain a natural appearance.
- Preview the complete video before exporting.
- Use high-quality overlay footage for cleaner results.
Final Thoughts
Blend modes can make video editing more creative by allowing different visual layers to work together. Whether you want to add light effects, film textures, or double-exposure visuals, experimenting with overlays can help you develop your own editing style.
Open CapCut, add an overlay, and explore the blending controls available in your version. Start with simple effects and gradually try more creative combinations.