 English ▾


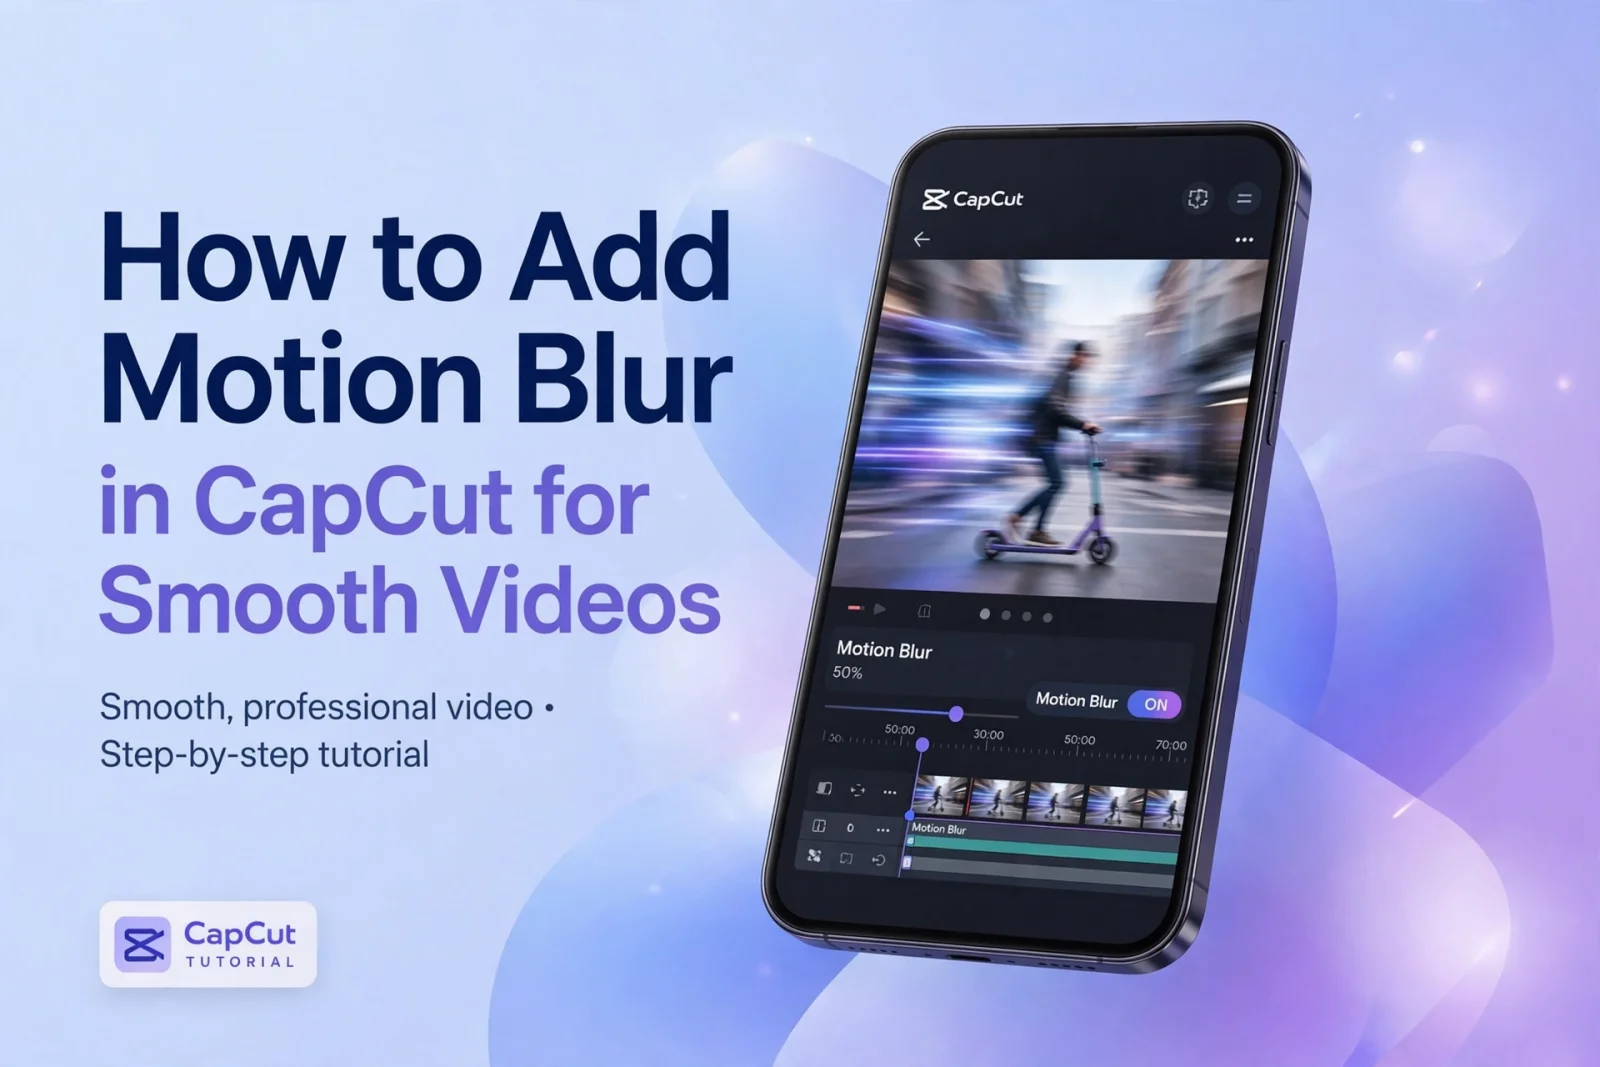
# How to Add Motion Blur in CapCut for Smooth and Cinematic Videos
Motion blur is a simple editing effect that can make videos look smoother, more dynamic, and more cinematic. It is especially useful for sports clips, action videos, transitions, and fast-moving camera shots.
If you have ever watched a video where fast movements look smooth instead of sharp and distracting, motion blur may be one of the techniques behind that result.
In this guide, you will learn how to create a motion blur effect in CapCut and how to use it without making your video look messy.
What Is Motion Blur?
Motion blur is a visual effect that creates a soft blur around moving objects or during fast camera movement. It helps movement feel more natural and can give ordinary footage a professional appearance.
For example, you can use it when someone is running, a car is passing quickly, or a camera moves from one scene to another.
How to Add Motion Blur in CapCut
Follow these simple steps to experiment with motion blur in your project.
Step 1: Start a New Project
Open CapCut and tap New Project. Select the video you want to edit and add it to your timeline.
Choose footage that contains movement because motion blur is more noticeable when something is moving.
Step 2: Find the Blur Effect
Open the Effects section and explore the available video effects. Look for a motion blur or directional blur effect if it is available in your version.
The names and availability of effects can differ depending on your device, app version, and region.
Step 3: Adjust the Effect
Once you find a suitable effect, apply it to your video. Adjust its intensity or other available settings.
Avoid using too much blur. A light effect usually looks more natural and keeps important details visible.
Step 4: Apply Blur to the Right Moments
You do not always need motion blur throughout the entire video.
Try applying it during fast movements, transitions, or action sequences. Compare the footage before and after applying the effect to see which version looks better.
Step 5: Preview and Export
Play your complete video and check whether the movement looks smooth. Make sure faces, objects, and important details are still clear.
When everything looks right, export your video using a resolution and frame rate suitable for your intended platform.
Tips for Better Motion Blur
- Use a subtle blur for a natural appearance.
- Apply the effect mainly to fast-moving scenes.
- Avoid excessive blur on faces and important objects.
- Combine motion blur with smooth transitions when appropriate.
- Always preview the final video before exporting.
Final Thoughts
Motion blur can give your CapCut edits a more polished and cinematic appearance when used correctly. Whether you are creating sports edits, travel videos, or short social media clips, experimenting with this effect can help improve the overall viewing experience.
Start with a small amount of blur, test different settings, and choose the result that best matches your editing style.