 English ▾


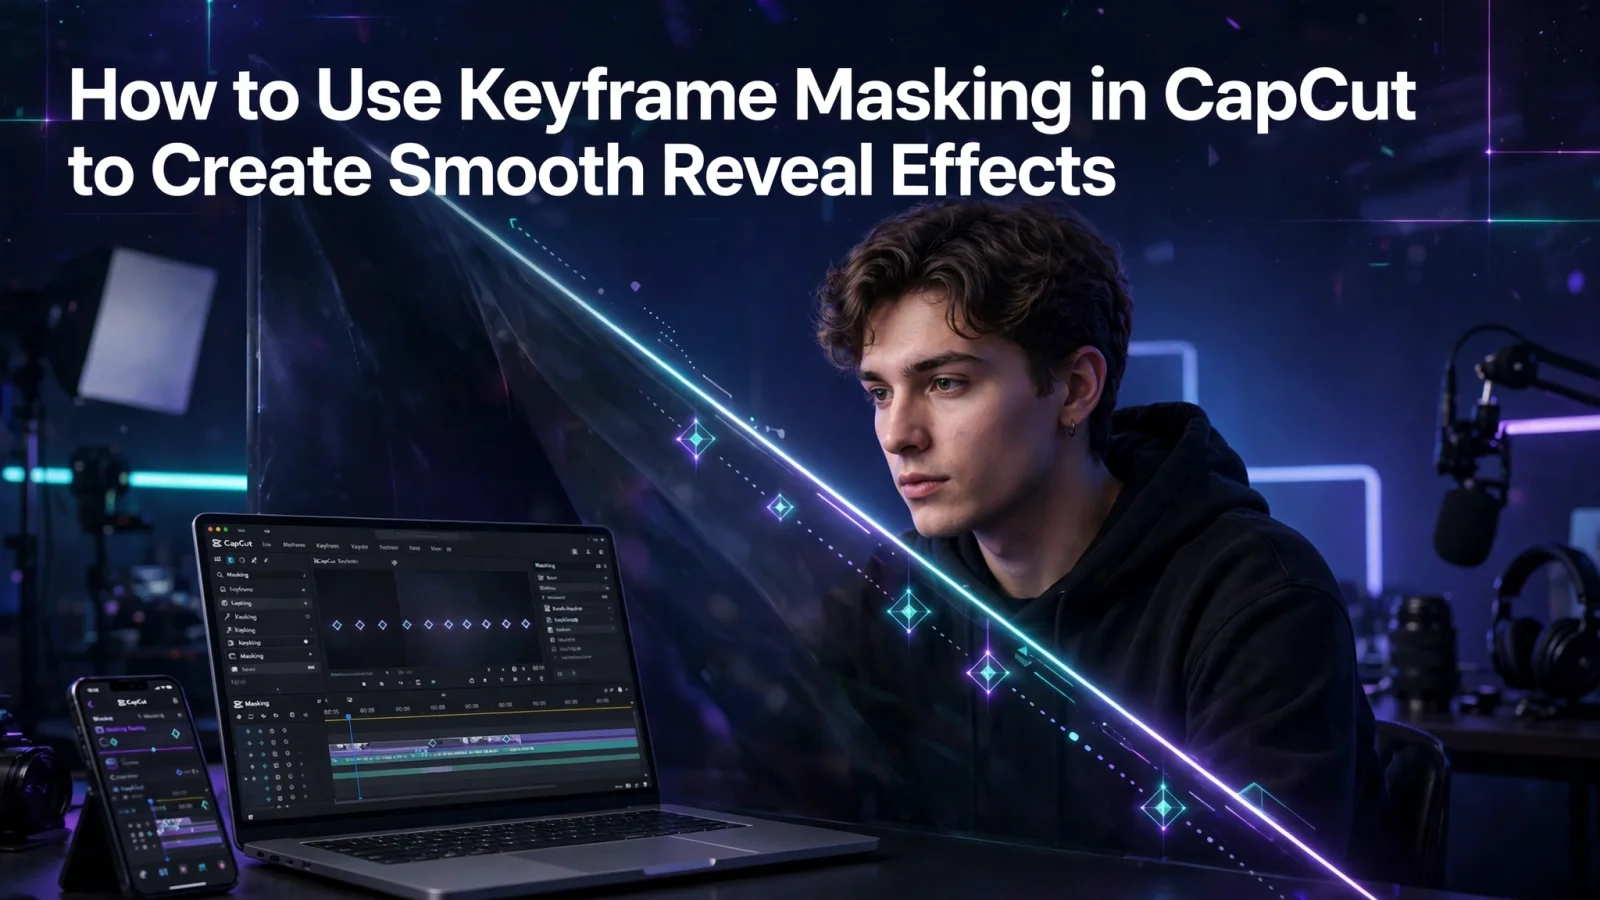
# How to Use Keyframe Masking in CapCut to Create Smooth Reveal Effects
**Introduction**
Want to make your videos look more creative without using complicated editing software? CapCut's Mask tool can help you create smooth reveal effects, cinematic transitions and creative scene changes.
Masking allows you to control which part of a video remains visible. When you combine it with keyframe animation, you can gradually reveal a person, object or another video layer.
In this guide, you will learn how to use masking and keyframes in CapCut step by step.
What Is the Mask Tool in CapCut?
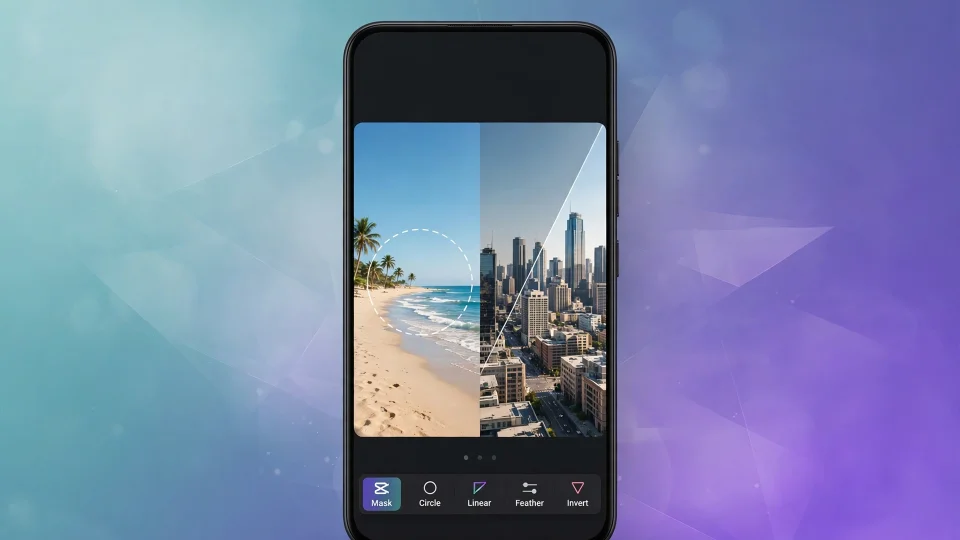
The Mask tool lets you hide or show specific areas of a video. Instead of displaying the entire clip, you can control the visible portion using different mask shapes.
Depending on your CapCut version, you may find options such as:
- **Circle:** Creates a round visible area.
- **Rectangle:** Reveals a rectangular section.
- **Split:** Divides the screen into visible sections.
- **Mirror:** Creates a mirrored masking effect.
- **Horizontal or vertical masks:** Help create directional reveals.
You can also adjust the mask's position, size, rotation and feathering to achieve a smoother result.
How to Create a Mask Effect in CapCut
Follow these steps to create your first masking effect.
Step 1: Start a New Project
Open CapCut on your phone and tap New Project. Select the video you want to edit and add it to your timeline.
Choose a clip with a clear subject and a background that makes the effect easy to see.
Step 2: Add an Overlay
If you want to reveal two different scenes, add another video using the Overlay option.
Place the second video above your original clip on the timeline. Make sure both clips are positioned correctly.
Step 3: Open the Mask Tool
Select the overlay clip and find the Mask option in the editing toolbar.
Choose a mask shape that matches your creative idea. For example, a circle works well for a spotlight-style reveal, while a split mask is useful for dividing two scenes.
Step 4: Adjust the Mask
Move the mask over the area you want to reveal.
Experiment with its size, position, rotation and feather settings. A little feathering can make the transition look softer and more natural.
Step 5: Add Keyframe Animation
Now comes the interesting part.
Move the playhead to the beginning of your overlay clip and add a keyframe using the diamond-shaped keyframe control, if available for the selected mask properties.
Move the playhead forward and adjust the mask position or size. Add another keyframe if CapCut does not create one automatically.
CapCut will animate the change between the keyframes, creating a moving reveal effect.
Step 6: Preview and Export
Play your video from beginning to end. Check whether the mask moves smoothly and whether the two video layers line up properly.
When everything looks good, export your video. For most social media videos, 1080p at 30 FPS is a useful starting point.
3 Creative Masking Ideas to Try
**1. Cinematic Scene Reveal**
Use a horizontal or vertical mask to gradually reveal a new scene. This works especially well for travel videos and cinematic edits.
**2. Spotlight Reveal**
Use a circular mask to reveal a specific person or object while keeping the surrounding area hidden.
**3. Before and After Comparison**
Place two versions of a clip on separate layers and use a split mask to compare the original footage with the edited result.
Tips for Better Masking Results
- Use clips with similar camera angles when combining two scenes.
- Avoid moving the mask too quickly unless you want a dramatic transition.
- Experiment with feathering to soften hard edges.
- Keep your keyframes evenly spaced for smoother animation.
- Preview the entire video before exporting.
Remember that some advanced tools and options may vary depending on your CapCut version, device and subscription.
Final Thoughts
CapCut masking is a useful editing technique that can make ordinary videos look more professional. By combining mask shapes with keyframe animation, you can create creative transitions, moving reveals and interesting comparisons without complicated editing software.
Start with a simple circular or split mask, experiment with keyframes and gradually try more advanced effects.
If you want to improve your editing skills, explore more practical tutorials in our **CapCut Blog**.
**Related guide:** Learn more about animation in our CapCut editing guides.
---
*Disclaimer: CapCut features and interface layouts may change between app versions. Some options may require CapCut Pro.*