 English ▾


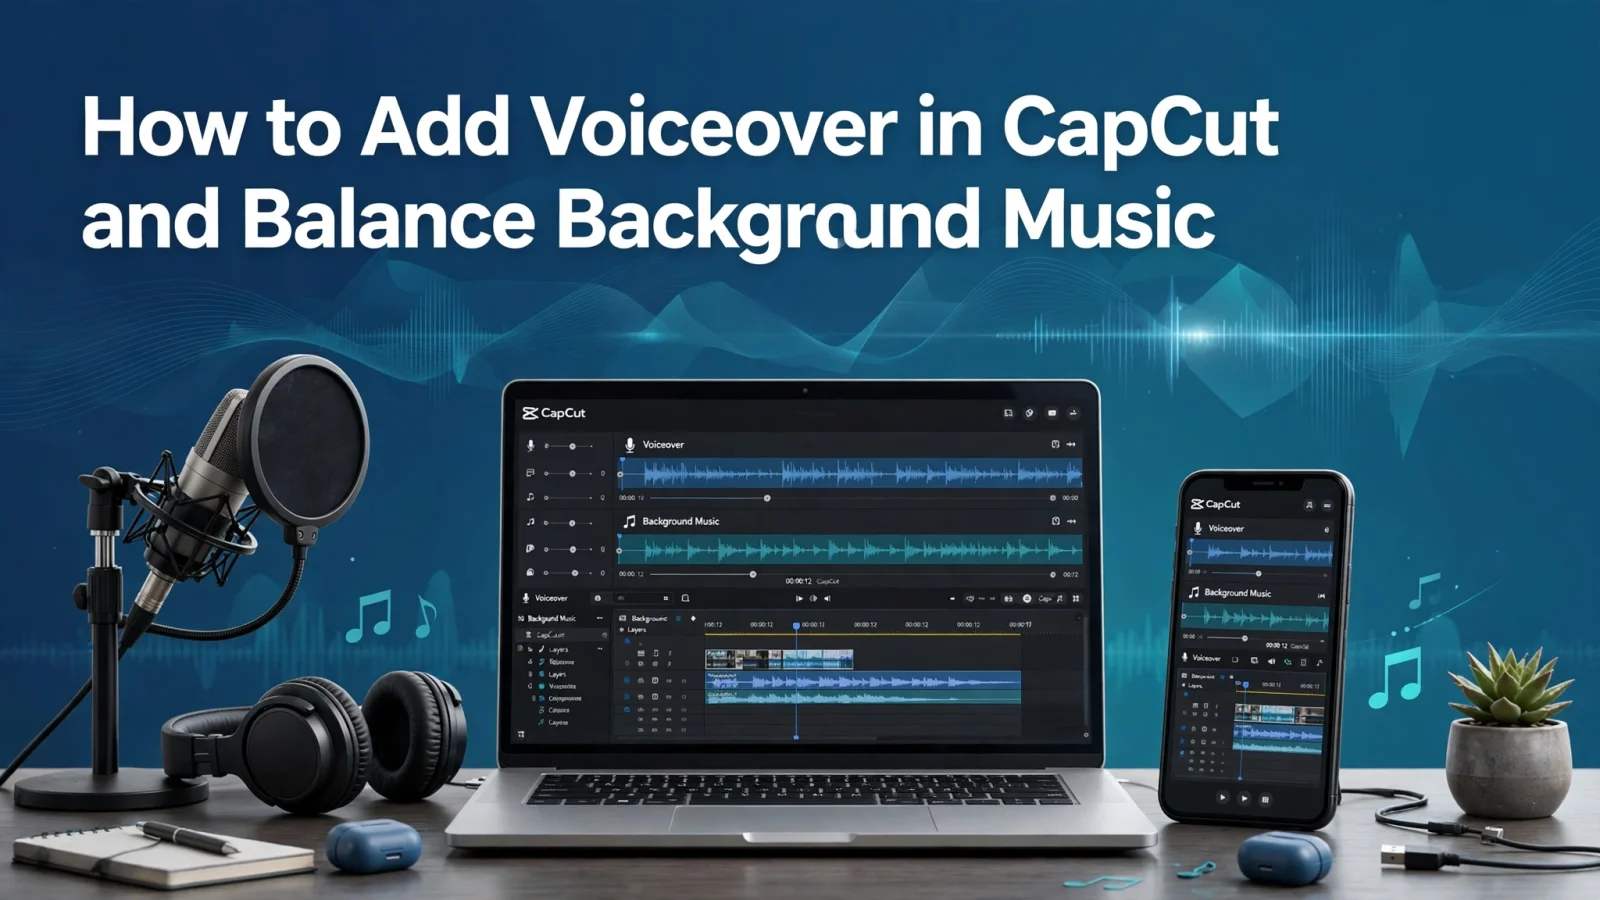
# How to Add Voiceover in CapCut and Balance Background Music
A good video is not only about beautiful visuals. Clear audio also plays an important role in keeping viewers interested. Whether you create YouTube videos, Instagram Reels, tutorials or short clips, adding a voiceover can make your content more engaging.
CapCut makes it easy to record your own voice and combine it with background music. In this guide, you will learn how to add a voiceover in CapCut and adjust the audio for a cleaner result.
Why Add a Voiceover to Your Video?
A voiceover helps explain what is happening in a video without showing your face. It is useful for tutorials, product reviews, storytelling and educational content.
You can also use background music to create the right mood. However, music should never be so loud that viewers cannot understand your voice.
Step 1: Open Your Video Project
Open CapCut and tap New Project. Select the video clips you want to edit and add them to the timeline.
Arrange your clips in the correct order and make any necessary cuts before recording your voice.
Step 2: Record a Voiceover
Move the playhead to the point where you want your voice to begin.
1. Open the Audio section.
2. Find the Voiceover or Record option.
3. Tap the recording button.
4. Speak clearly while your video plays.
5. Stop recording when you finish.
Your recorded voice will appear as a separate audio track on the timeline. You can move or trim it to match your video.
Step 3: Add Background Music
Open Audio and choose a suitable music track from the available sounds or import an audio file from your device.
Place the music underneath your voiceover. Choose music that matches the mood of your content without distracting viewers.
For example, soft background music works well for tutorials, while energetic music may suit travel videos and Reels.
Step 4: Adjust Audio Volume
This is one of the most important steps.
Select your voiceover track and adjust its volume so your speech sounds clear. Next, select the background music and lower its volume until your voice is easy to understand.
There is no perfect volume setting for every video. Listen with headphones and adjust both tracks until they sound balanced.
Step 5: Remove Unwanted Background Noise
If your recording contains unwanted background sounds, check whether CapCut offers a Noise Reduction option for your audio track.
Enable it when needed and listen to the result. Avoid applying too much noise reduction because it can sometimes make your voice sound unnatural.
For better recordings, choose a quiet room and keep your microphone at a comfortable distance.
Step 6: Preview and Export Your Video
Play the complete video before exporting it.
Check that your voice starts at the right time, background music does not overpower your speech and there are no sudden audio changes.
When everything sounds right, tap Export and select suitable video quality settings. Your finished video is ready to share.
Final Thoughts
Adding a voiceover in CapCut is a simple way to make your videos more informative and professional. The key is to keep your speech clear, choose suitable background music and balance both audio tracks carefully.
Try these steps in your next editing project and experiment with different music styles to find what works best for your content.